Based on POS app version 4.2.4.
There may be a slight difference in older POS versions.
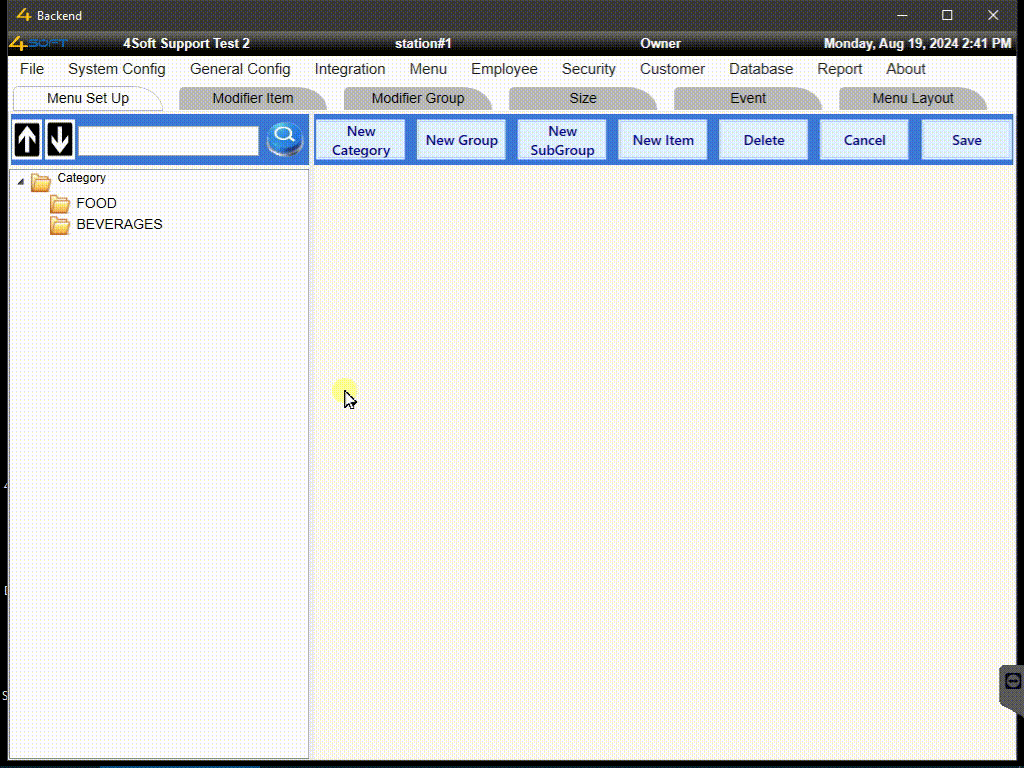
To access the POS menu setup, go to “Back Office” >>> “Menu”
How to create categories
How to create groups
1. Click a category to select (indicated by blue-highlight)
2. Click “New Group”
3. Enter a name for “Group Name:”
4. Click “Save”, and the group is created under the selected category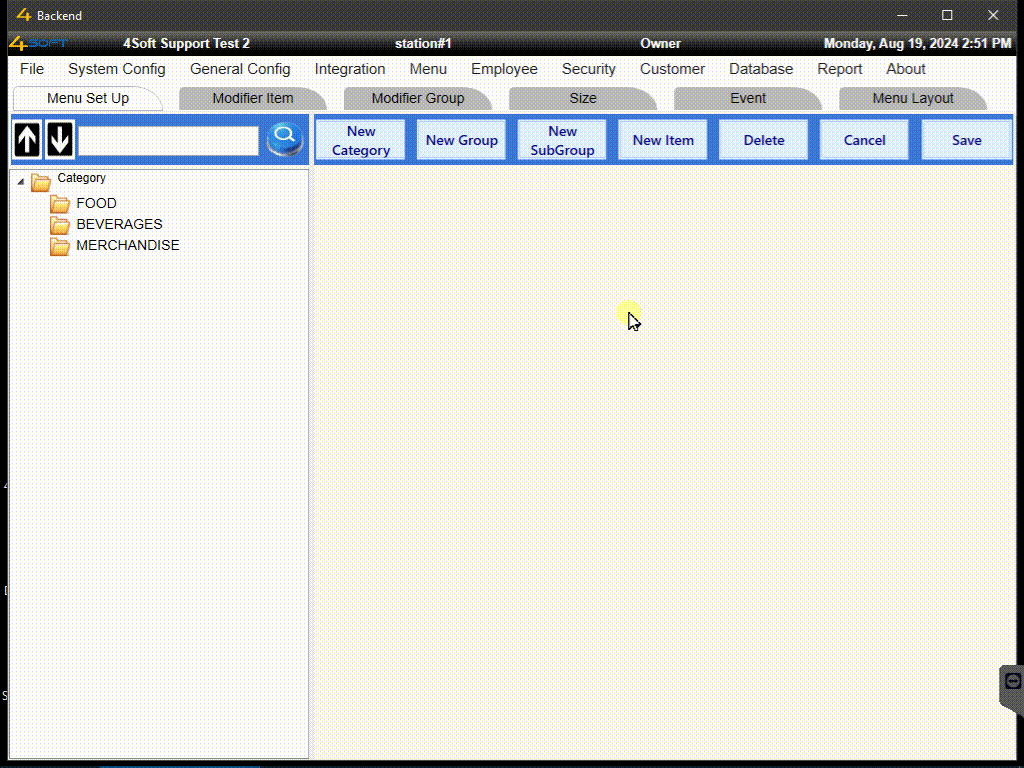
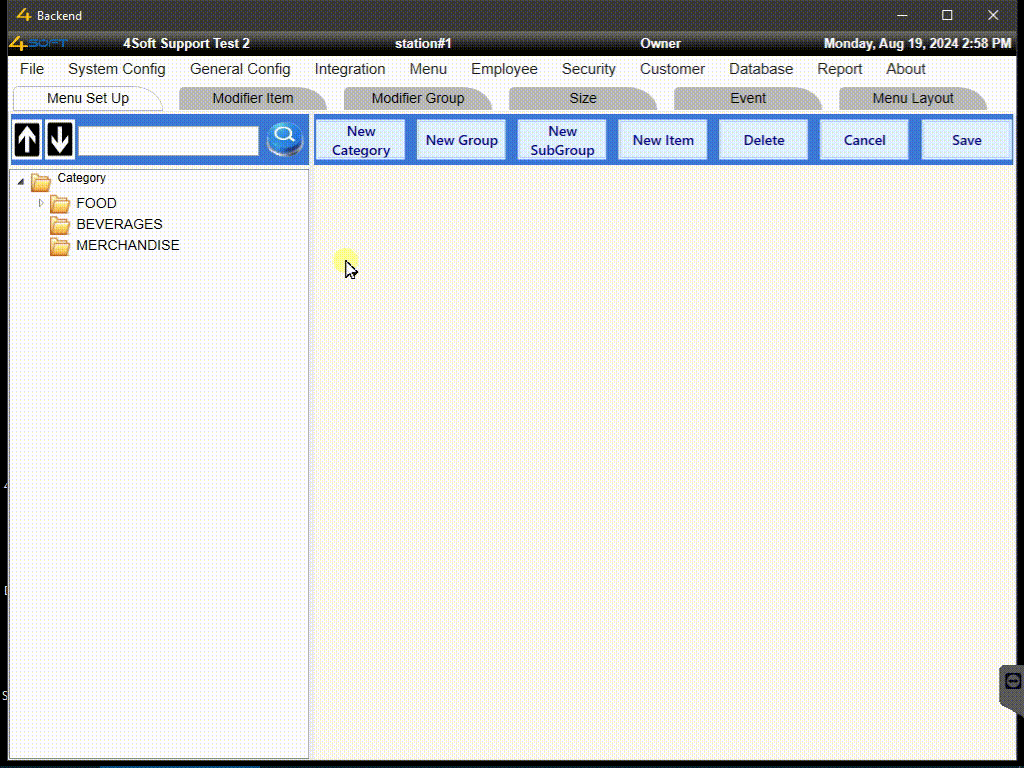
How to create subgroups (optional)
1. Click a group to select (indicated by blue-highlight)
2. Click “New SubGroup”
3. Enter a name for “SubGroup Name:”
4. Click “Save”, and the subgroup is created under the selected group
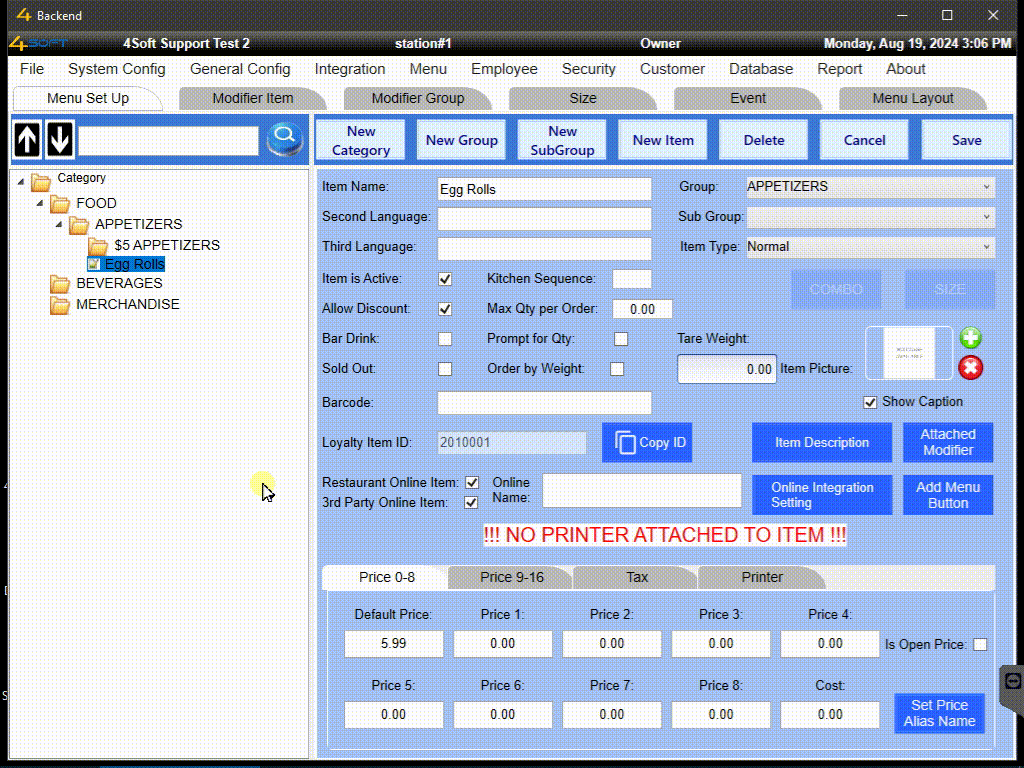
How to create items
1. Click a group or subgroup to select (indicated by blue-highlight)
2. Click “New Item”
3. Enter a name for “Item Name:” and a price for “Default Price:” (or any of the price# if planned to use)
4. Click “Save”, and the menu item is created under the selected group or subgroup
How to set the menu layout for order taking
1. Click “Menu Layout” tab
2. Click “Set Layout”
3. Click a group to select in the middle pane (indicated by blue-highlight)
4. Click and hold the group, then drag the group to any of the grid space on the left pane
5. Click the group button on the left pane, then the grid space will be appeared on the right pane
6. Double click on the group name, or click the small triangle next to the yellow folder icon of the group, in the middle pane to show item list under the group
7. Click an item under the group to select (indicated by blue-highlight)
8. Click and hold the item, then drag the item to any of the grid space on the right pane
9. When finish with the menu layout, click “DONE” to save the current layout and exit the menu layout setup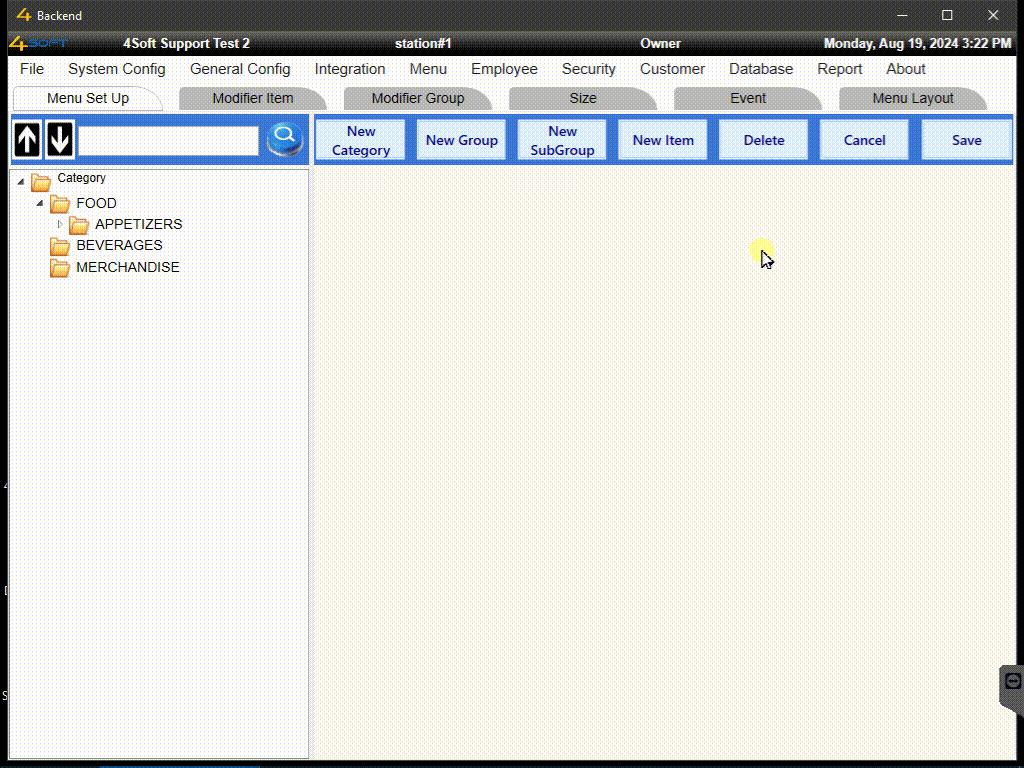
How to set menu layout for subgroup menus
1. On the menu layout screen, select a group on the left pane first, then expand and find the subgroup on the middle pane.
2. Click and hold the subgroup from the middle pane, then drag and drop the subgroup to any of the space on the right pane.
3. Click Edit Sub Group, then select a subgroup from the drop down selection(only subgroups from step#2 or already added to the right pane will be appeared), then expand appropriate group from the left pane to find the subgroup before highlight the subgroup, and then click Add All to automatically add all items in the subgroup (you may also manually drag each individual item to place them in your desired locations on the right pane).
4. Click OK, then SAVE and DONE after the finished the process.
How to create and attach modifiers to menu items
Modifier structure:
Modifier Group
^— >>> Modifier Item
If certain menu items have selections to choose such as choice of meat, then modifier groups must be created that contain modifier items. Then modifier groups will be attached to menu items to enable choice selection when ordering the menu items.
1. Click Modifier Group tab.
2. Click New to add a new modifier group, then enter a name in Group Name: and click Save.
3. Click NEW MODIFIER to add a new modifier item to the current modifier group, then enter a name and price to be added to the menu item price when selected the modifier item, then click DONE.
4. Once finished adding all necessary modifier items, click Save.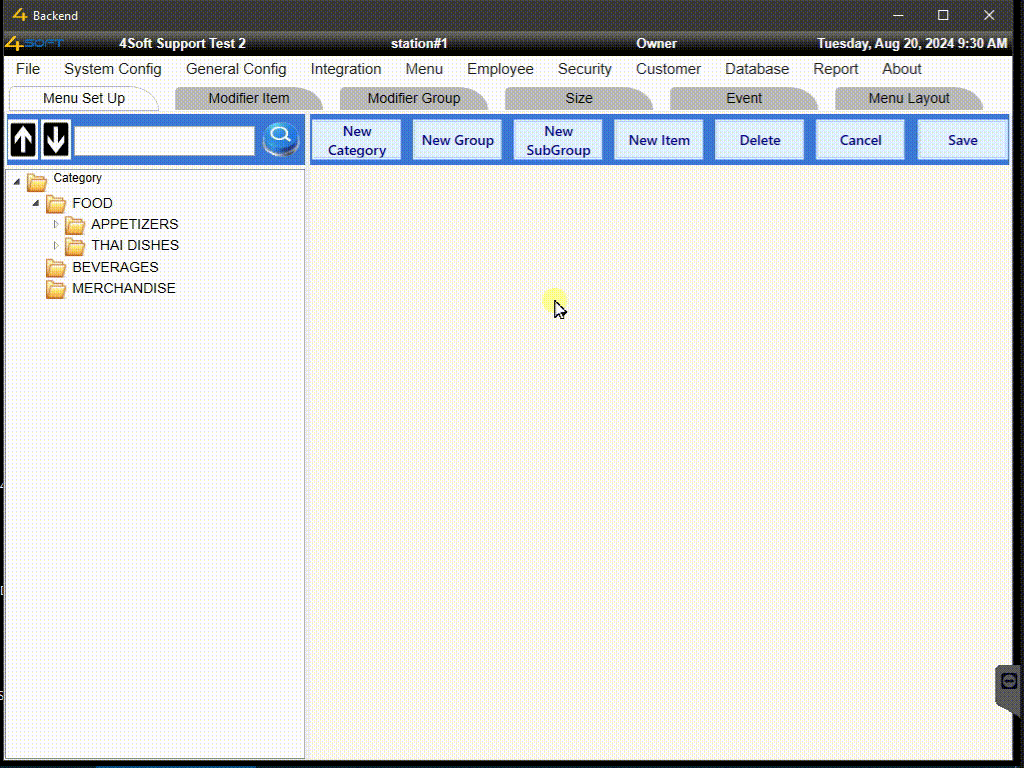
6. Alternatively, you may also create modifier items in advanced by going to Modifier Item tab
7. Click New, then enter a name and a price which to be added to the menu item when selected this modifier item, then click Save
8. Go to Modifier Group tab, select a modifier group, then select a modifier item on the middle pane, then click ADD to add the selected modifier item to the modifier group and click Save after done adding modifier items to the group 9. Go to Menu Set Up tab, then navigate and select the menu item that to attached the created modifier group
10. Click Attached Modifier, select the modifier group from the list on the left pane, then click ADD which the group will be appeared on the right pane
11. If you want the modifier selection to appear automatically when ordering this menu item, check the box Forced Choice
12. Click DONE, then Save